How to digitally sign documents
Updated: 8th November 2022
Please note that HelloSign rebranded to Dropbox Sign on October 25th 2022. The functionality remains the same but there have been some UI updates. The article below has replaced all instances of HelloSign with Dropbox Sign
Forget printing, signing, scanning and emailing forever.
Signing documents has still got to be one of the most antiquated processes in business these days. In the last 10 years, we’ve moved forward in so many ways on how we conduct business. How we share files, how we communicate like Zoom or Teams and of course mobile phone technology but for some reason, getting someone’s signature on a document and having that digitised, is still a massive pain for everyone involved.
Some organisations still require that you have a physical copy of the signed document. Some require an actual pen to touch paper, which just seems ridiculous in this day and age.
Now, the good news is not all organisations require this. Electronic signatures have come a long way, and it’s much easier to have agreements like contracts, NDAs or confidentiality agreements to be digitally signed.
One of the great tools available at the moment is called Dropbox Sign. They are actually part of the Dropbox group when Dropbox acquired them a few years ago. And as a Dropbox Business reseller, we have access to Dropbox Sign. So we thought we’d give it a go.
But first, a little background. We were sick of having to ask clients to print out a PDF contract that we sent them, get them to sign it, scan it back in, locate the scanned and then email it to us. It just made us look unprofessional.
It was time-consuming for our customers, and that was if they didn’t have problems with their scanner! And what did we receive? A scanned image, which takes up more space on storage than it needs to. It’s just a complete waste of time and resources to do it that way.
So we implemented Dropbox Sign into our customer onboarding, employee onboarding and project signoff process.
How do you use it? So there are a few different ways. The first way is we generate our standard agreement documents on Google Docs. It works just as well with Office 365. We then have a plugin that is available within Google Docs, which, when pressed, launches a Dropbox Sign wizard. It automatically makes a PDF version of your document and uploads it to Dropbox Sign. From there, you enter the signer’s name and email address. Next, the PDF of the document is presented to you alongside a list of fields relevant to this document. Fields like their name, date and of course the signature field itself. You just drag and drop the fields straight onto the PDF.
So what fields do you have access to? Well, you can have fields for their name and obviously, their signature. The date they signed. And you can have custom fields as well. You can have, for example, a purchase order number field. And you can make these required or optional depending on the document. And then once you’ve got the document set up with the fields required, you proceed to send phase. Here you can modify the subject and the body of the email that they’ll receive. Once sent, they will receive an email with your message and a link to sign the document using Dropbox Sign.
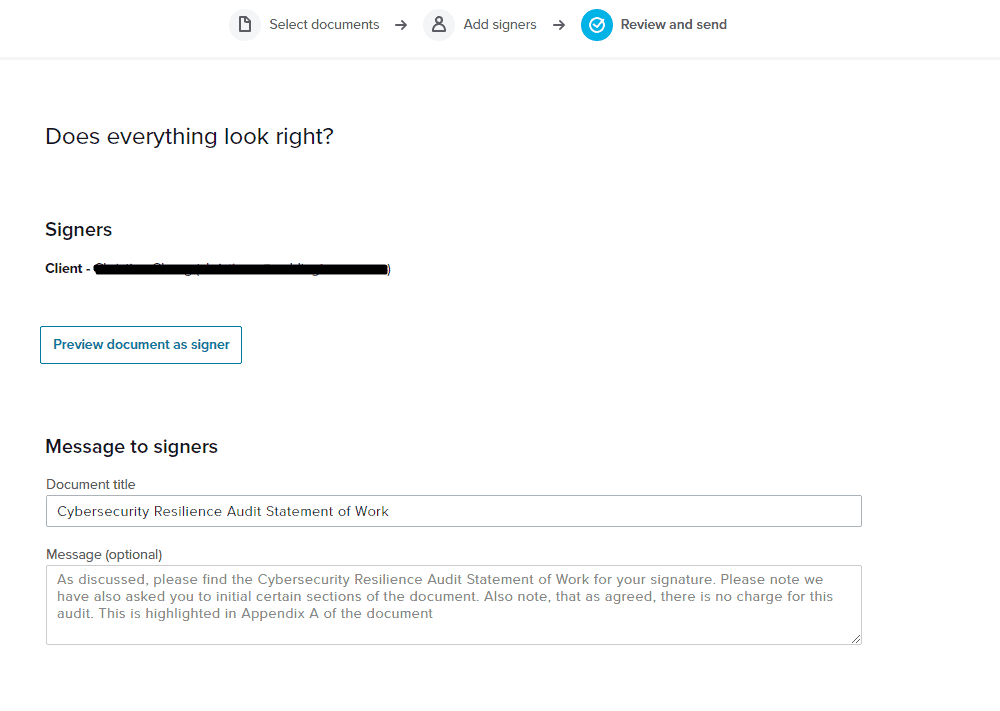
The other way you can set up Dropbox Sign is you can create a template and store it in their website portal, which is great. If you are generating a lot of generic documents to be signed that don’t require customisation, this feature is for you. We’ve used this for a cybersecurity audit agreement. So when we have a request for an audit we simply log into Dropbox Sign, find that template, and enter in that client’s email and name.

You can even template the email message they receive. The whole process s basically a 30-second job to get this document out in front of a new client.
From your perspective, the next thing you will notice after you send the document, you’ll get a notification when they have viewed it. That’s great. It’s always very exciting when you’re getting a new agreement signed, to actually be notified that they’ve viewed the document.
Hopefully, the next notification will arrive soon after. That’s the notification that they’ve signed the document, which is another for hooray moment. If you receive the notification they viewed the document but days pass and you don’t receive the ‘signed’ notification, you can always prompt them via a phone call.

However, once it’s signed, both parties can receive a PDF version of that signed document with an audit log attached. So you can see when it was first viewed, who was it signed by, etc. This is good for record-keeping for both you and your client. As a Dropbox Sign user, you can log in to the portal and see all your previously signed documents which are also very useful.
If you are looking for more automation, Dropbox Sign can integrate into your existing systems and automatically send out documents for signature. This requires a programmer to help create this integration, but if you’re looking to really save time and money, this is a fantastic option for your business.
I’m looking forward to further enhancements in Dropbox Sign, For example, making it possible to receive comments on a document. But overall it has reduced the amount of time we chase for signatures or have to manage signed PDF documents by hours. Hours saved every week. It makes us look more professional and it makes it so easy for clients to sign documents. Let’s just hope that more organisations get on board with digital signatures. So we can get back all those hours of the week that we spend scanning documents back into and emailing them around.

About the author
Yener is the founder and Managing Director of Intuitive IT. Prior to running his own business Yener worked for a number of corporate organisations where he gained invaluable experience and skills, as well as an understanding of how IT can complement and improve business outcomes.